
Setting Up Your Big E-Z Books for Windows for the First Time
Listed below are instructions on how to install and do the initial setup of your Big E-Z Books for Windows.
Installing Big E-Z Books
Step 1. Download the Big E-Z program from the link you received in your order email.
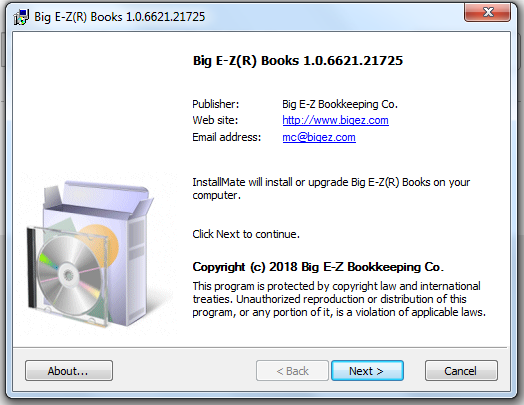
Step 2. This screen will appear. Click Next.
Step 3. Follow the wizard, then read the License Agreement, then click Next. Do not change the installation location of the Program File Folder. Click Install.

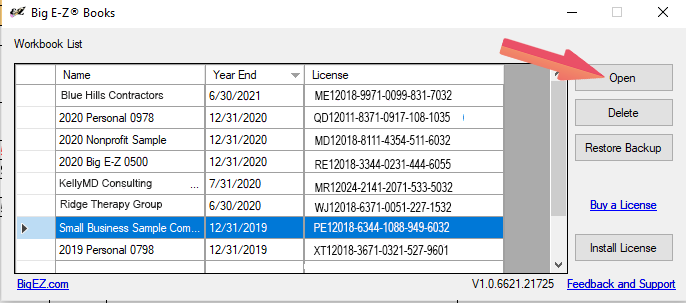
Step 4. The Big E-Z Books Workbook List will open.
Click Sample Company and then Open.
We recommend you use the Sample Company to see how the system works before you open another workbook and enter actual data. Feel free to change amounts and play with the Sample Company, but do not delete anything or some of the calculations, charts, and other features may stop working.
You may also want to practice importing and exporting in the Sample Company to get familiar with those features.
The trial will stop working (but remain on your PC) after 15 days if a License Key has not been purchased and installed. If you need more time to decide, feel free to contact us for instructions on how to refresh the Sample Company to use the trial for another 15 days.
Adding the License Key
Step 1. Click Install License and this screen will appear.
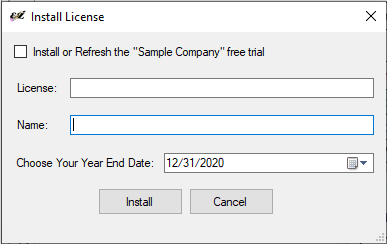
Step 2. Copy and paste the License you received in the order email into the License box.
Step 3. Enter the name of your workbook.
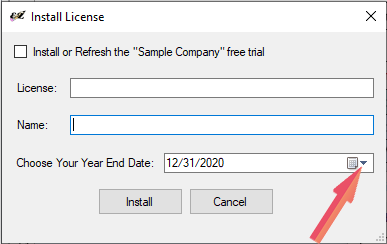
Step 4. Click the down arrow and select your fiscal Year End Date.
Important Note: This will set the system date. If the Year End Date is entered incorrectly the first time you open the program, you will need to start the process over again and will lose any data you may have entered.
Once you have the correct Year End Date selected, click Install.
First Time Setup
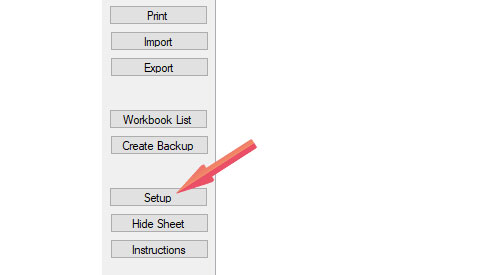
Step 1. The instruction screen in the first period should appear when you first open Big E-Z Books. Start by clicking on Setup from the left menu.
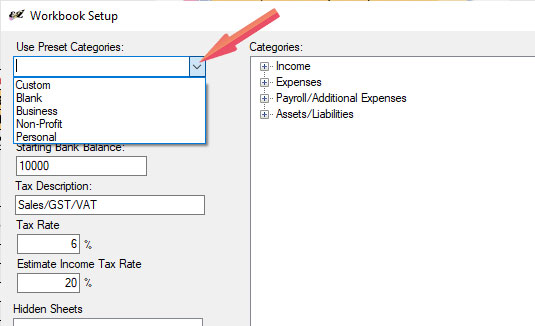
Step 2. Click the down arrow to Use Presets (of our expense category groups) for your business, non-profit, or personal.
Step 3. In the Categories box, click the plus sign next to Expenses.
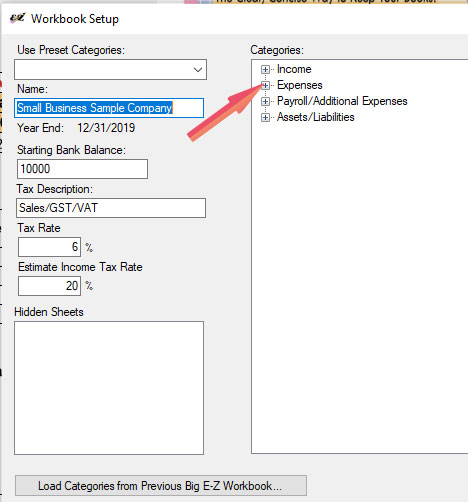
The list of Expense Account Categories will show up.
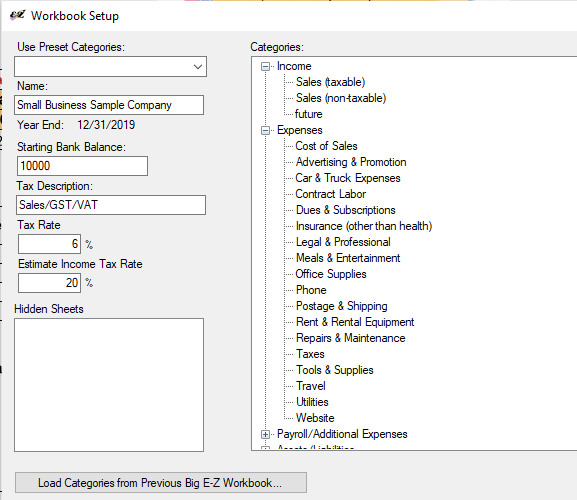
Note: If you need to change any categories, this can only be done in the first period (see Step 4 and Step 5). Using our preset categories to keep your records this year would give you good summary totals to use for tax time reporting.
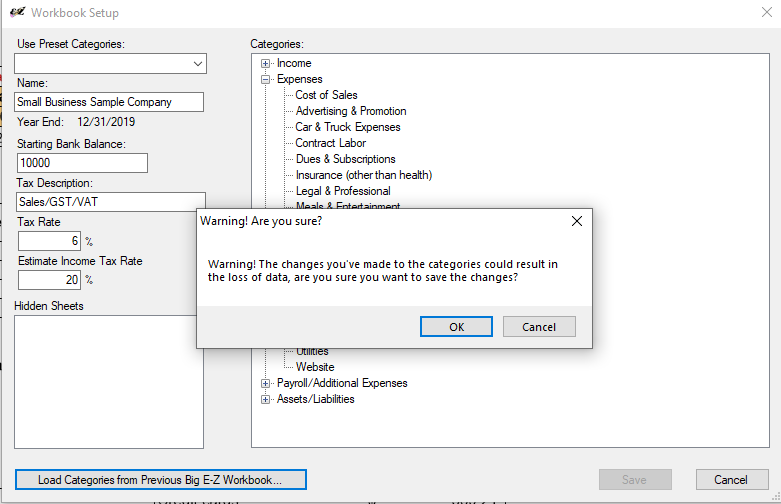
Step 4 (optional): Double-click any Income or Expense category to change it.
Step 5 (optional): Click Save, OK to the warning message, and OK once again.
The expense categories will be listed in the Checks spreadsheet for the first period and will populate throughout all the months and all the accounting reports.
Optional Setup
Mileage
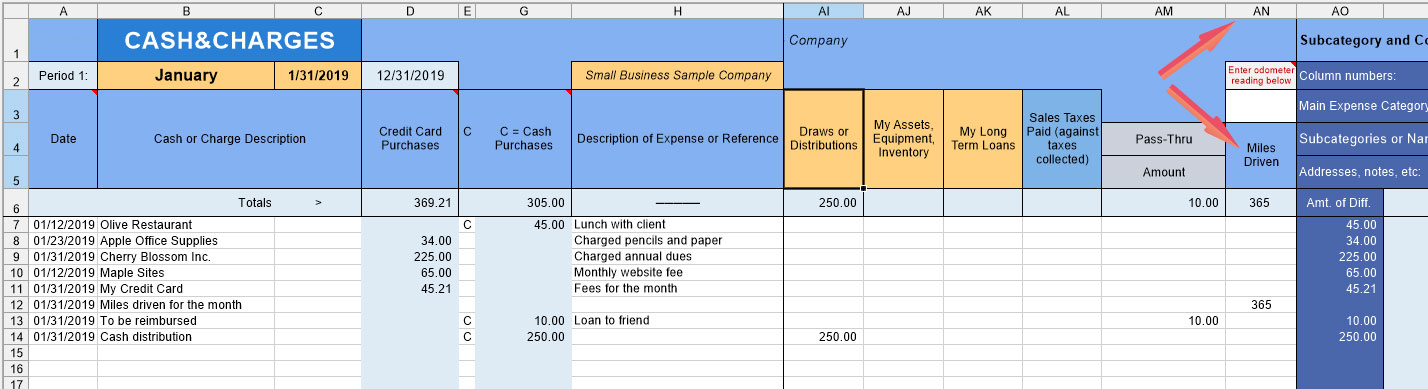
Start tracking mileage at the beginning of the year with your Odometer reading on the first period’s Cash&Charges row 3, column AL.
Reconcile All Your Accounts
The Bank Reconciliation in Big E-Z Books will reconcile your main checkbook but use the Account Balance Tracker to reconcile monthly activity from all other accounts. It will assist you in an easy review, by account, of how money is received, expensed, or owed in other accounts such as your savings account.
![]()
Budget
Click Summary from the left menu.
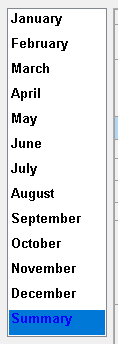
Then click the Budget tab from the bottom menu of the Summary Reports.

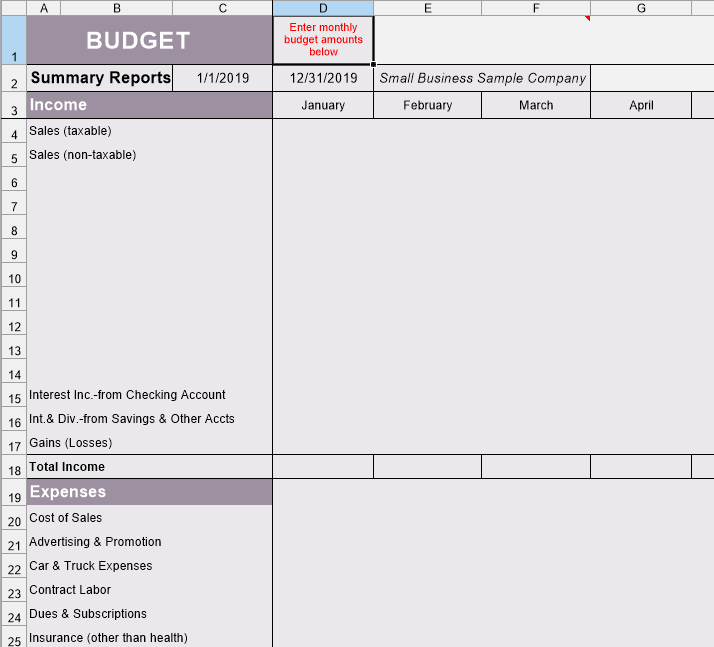
Enter monthly budget amounts in column D. The budget amounts will show up on each month’s Income&Expenses report sheet as well as the YTD Income Statement.
Cost Centers and 1099 Information
To set up a Cost Center to determine the Net Balance of certain Subcategories do the following:
Step 1. Click Deposits in the first period and assign the Income Subcategory to column AO 1, row 4.

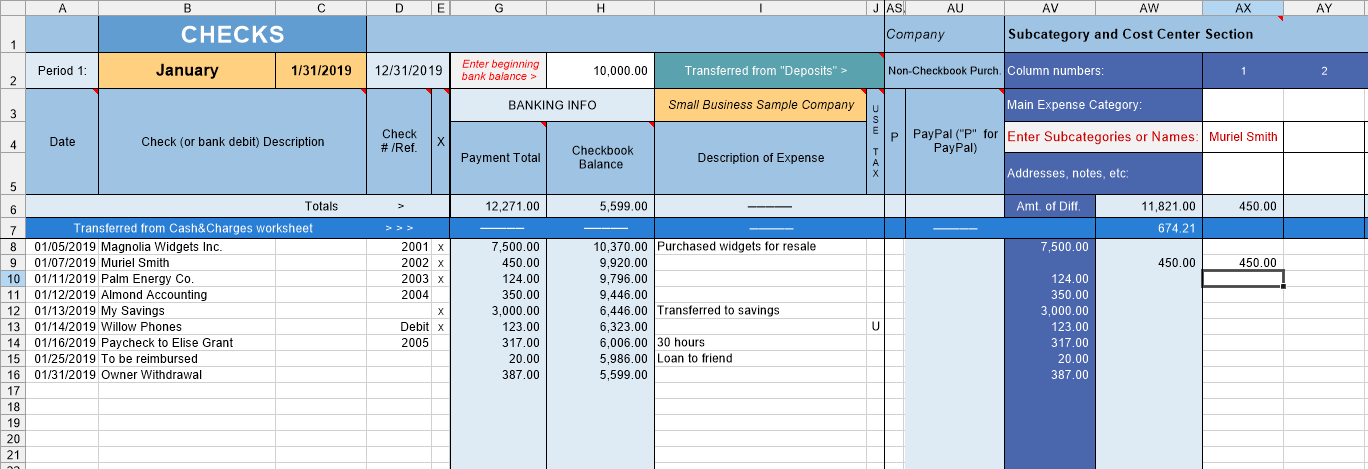
Step 2. Click Checks in the first period and assign the Expense Subcategory to column AX 1, row 4.
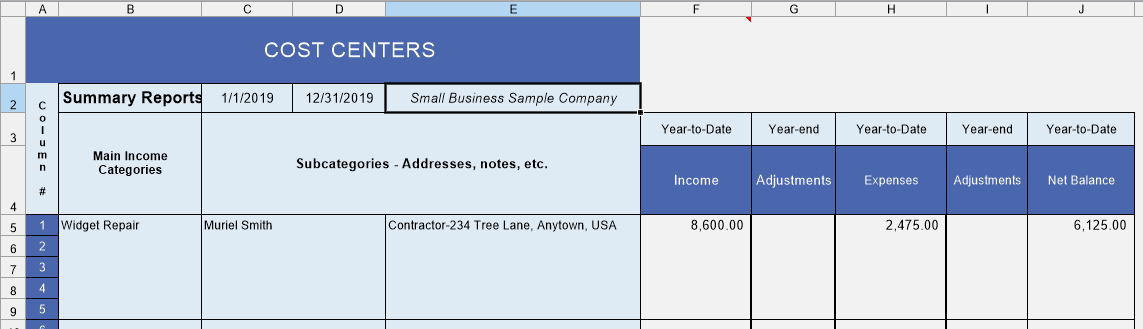
Step 3. View the Cost Center balances by clicking Summary, then CostCenters.
The Cost Centers screen will open and you will be able to compare Year-to-Date Income vs. Year-to-Date Expenses and the Net Balance as shown below.
To set up 1099 tracking, click Checks and scroll right to the Subcategory Section. There are 100 columns to use for 1099s or track anything you like.
To see the totals click Summary and the Exp. Subcat. tab.
Need Help?
Check out the user guide for Big E-Z Books for insightful tips, product feature overviews, and helpful instructions. If you need additional assistance, contact our support team.